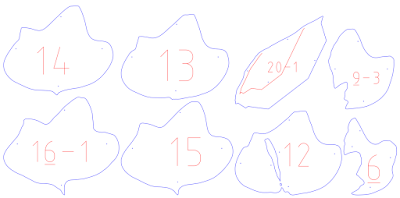
The next part is the start of the fun part! Once you have the PDF files of your templates, the next step is to have them laser cut. You will need to change the settings of the exported files using Adobe Illustrator.
First thing you need to change is the outline color. You have to make sure that the outline of the templates you want to actually be cut are red, and the ones you want to just be scratched are blue (usually the scratched surfaces serve as guides for when you put the pieces together)
The other thing would be the line weights. You should change the strokes to .001 (if you don't want the laser cutting to take forever)
After changing all the settings on Illustrator, it's time to laser cut. You just need to save your PDF files on the labs and make sure you modify the settings for the laser cutting machines. Choose the appropriate material and thickness of the sheet you are cutting and make sure that the laser cutters are on focus and are cutting inside the sheet.
For my templates, I chose the 600 x 300 x 3 mm plywood sheets. (it is good to check the quality of the plywood and make sure it's not bent so that it actually cuts through the sheet)


No comments:
Post a Comment