DIGITAL PROCESS

The first process includes all the digital aspects of the course. This requires gadgets like smartphones, laptops, cameras, and a good internet connection to access the necessary apps.

The first app required is 123D Catch by Autodesk. This is an app specializing in photogrammetry for easy 3D modeling. It is readily downloadable from the App Store or Google Play for smartphones and from Autodesk for laptops or desktop computers.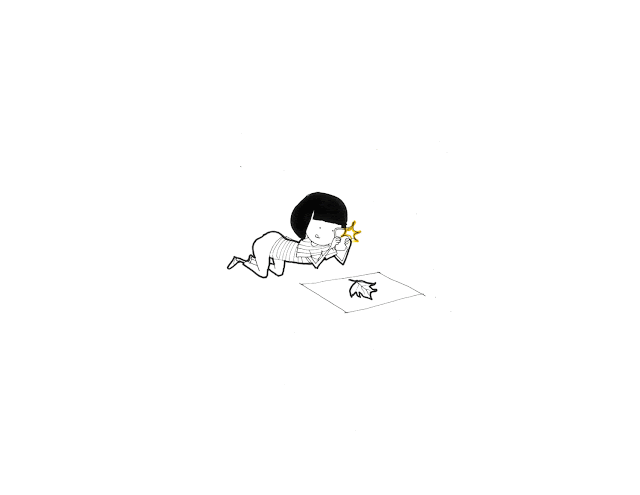

The first thing you need to do is to find a good object to model. Ideally, the object would have a beautiful form for the succeeding process which includes metal shaping. Also, a surface that has easily recognizable colors and textures and low reflectance and shadows. Using 123 Catch App, you can easily take pictures of the object on different viewpoints and angles.
Just make sure you keep the object still and in good lighting. Lay it flat on a sheet of paper. Avoid too much reflection, overexposure, and a bad quality camera when you start taking photographs.

After taking the photographs, just start the project and wait for the 3D model to be generated.

The next app requires is 123D Make, also by Autodesk. This app lets you create a template of your 3D model which you will need later on to make a laser-cut formwork. Similar to 123D Catch, this app is readily available on smartphones and computers. The templates that you could generate on this app could be through a variety of construction methods, material type and thickness, depending on your preference.
After deciding on which method and material to use, you will need to modify some properties of the template files on Adobe illustrator. The key thing to remember is this: blue lines are engraved and red lines are cut through.
LASER CUTTING PROCESS

The second process includes laser-cutting the template pieces created from the 123D Make app. This requires Adobe Illustrator, the material/sheet to be cut (ideally plywood for a strong finish), glue, and access to the laser cutters.

After editing the files on Adobe Illustrator, you will need to upload these files on the laser-cutting lab computers. You will need to modify the printer settings according to your material/sheet and make sure that the laser focus sits inside the sheet edges.
Turn on the power button for the laser cutter and then for the air filtration. Lay your sheet inside the laser cutter and start printing.
METAL SHAPING PROCESS

The next and final process is the metal shaping process. Basically, it is physically shaping an aluminum sheet to adhere to the contours of the 3D template. This requires access to the workshop tools like the bossing mallets, dollies, shot bags, metal cutters, etc.
 You will also need tools like the guillotine to cut large pieces of metal sheets and the English wheel for creating a smooth finish to the skin's surface. These tools require extra care when handling.
The first thing to do is to think of a plan and approach. This is how it basically goes:
1. Cut and mark the sheet so it covers the 3D template.
2. Mark the sheet according to the contours. The marks will serve as guides as to where to start hitting the metal sheet.
3. Start hitting against the timber pieces using the tapered bossing mallet. Keep doing this until the sheet starts to curve.
4. Start hitting against the 3D template to follow the contour details. You can use a variety and a combination of tools to achieve the form.
5. Once you get the skin closely adhering to the 3D template, you can refine the sheet using the English wheel. Or you can use the dollies and mallets to gently hit the skin until the dents even out.
ON MAKING THE TWO INTERDISCIPLINARY SKINS

The basic steps in creating a metal skin is generally the same for the two interdisciplinary forms. (See steps above). Though at some point of the whole process, the approach may vary on some more specific aspects.
1. Scale
If you have a large scale form, you would need a bigger area of sheet metal to shape but this will give you more access to tools (e.g. English wheel) and possibly a really smooth and beautiful finished product.
2. Level of Detail
The level of detail of the contours of the form will dictate the final appearance of the skin. This will require you to think of which proper tools and techniques will best work for the template. The more details you get from your 3D template, the more variation on the skin you get.
I thought it was best to use the stacked slices rather than the interlocked ones. This makes the template more robust and you will be able to hammer on it directly and the contours give more detail that is close to the original object.
3. 3D template
This varies mostly depending on the modeled object, but also, on the construction method, and the type and thickness of material to use for the 3D template. You have to choose a really good object or portion of an object that shows just the right amount of curves and details. If you choose a really complicated one, it may take more time and effort to make the skin.
4. Tools
The availability of tools that you would be able to use for shaping the metal is really important. For example, you may need to make sharp curves or gentle curves for the metal skin. You may apply the same approach in making these two different curves but you will need different tools to create them. Sharper curves may require the tapered dollies and more gentle curves may require the dome dollies.
In my case, I used the same method and material for my two 3D templates. This gave me the same level of detail and scale. But since the leaf skin has sharper curves compared to the mouse skin, the approach I had for the skins were different. I was able to use a more free-hand approach but very limited tools for the leaf skin. (tapered t-dollies, radius end mallet, and a shot bag) For the mouse skin, I relied heavily on the 3D template. The form led to a more conventional approach but more access to tools. (tapered mallets, radius end mallets, shot bag, all the dollies, and the English wheel)
I say it all depends on the form. You can always experiment with the approach and shaping techniques.
No comments:
Post a Comment